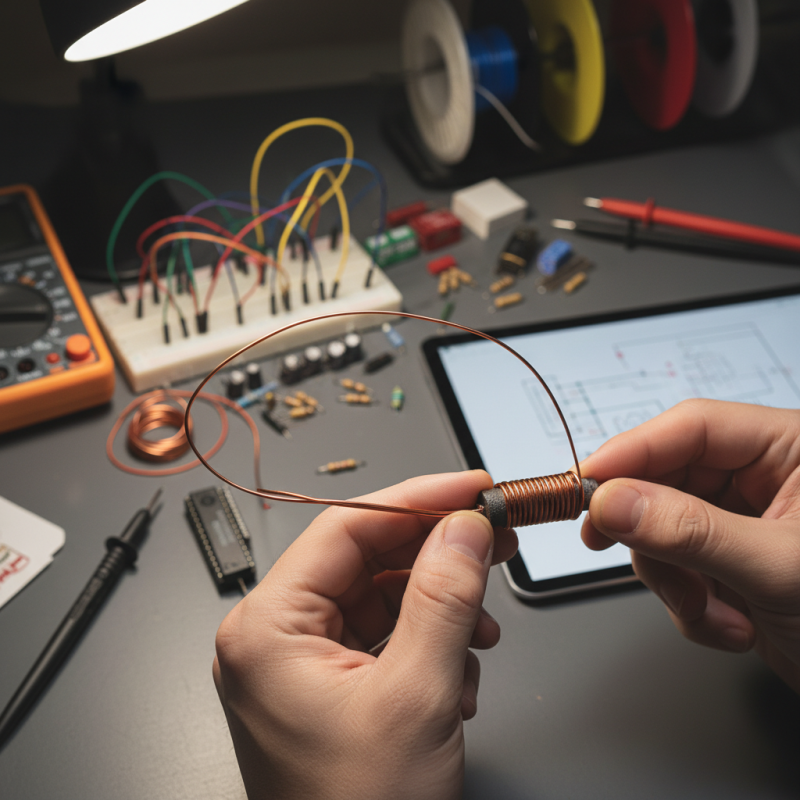
Making a good 'Inductor Coil' is pretty important for lots of electronics projects. I know it can seem a bit intimidating at first — trying to understand all the basics to build one — but honestly, with some hands-on tips, it’s not so bad. These coils actually play a pretty crucial role in circuits since they store energy and create magnetic fields.
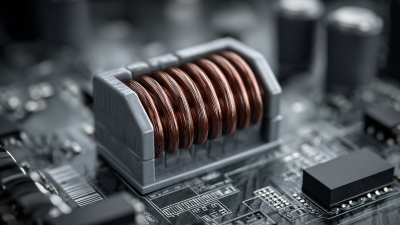
When you're putting together your inductor, materials really do matter. Most folks go for copper wire because it conducts electricity nicely. As for the wire gauge, that’s a bit of a balancing act—thicker wire can carry more current but also takes up more space. Figuring out the sweet spot between size and performance is really the key here.
And, yeah, it's totally normal to run into a few hiccups along the way. Maybe the coil isn’t acting quite right once you connect it, or you notice the winding isn’t tight enough. Sometimes, it’s just a matter of troubleshooting – checking if your winding is snug enough or if the core material is doing its job. Honestly, paying attention to those little details helps you get better each time. Ultimately, building your own inductor not only boosts your skills but also helps you understand electronics a bit more deeply. It’s a small step, but a pretty rewarding one!
Understanding the Basics of Inductors and Their Applications
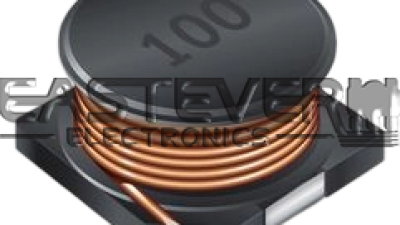
Inductors play a crucial role in electronics, especially in energy storage and filtering applications. They store energy in a magnetic field when electric current passes through them. The basic design of a Coil Inductor involves winding conductive wire around a core material. The choice of core affects permeability and efficiency. Using materials like ferrite can enhance inductance but can complicate the construction process.
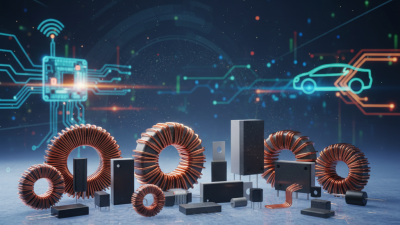
In recent years, the demand for inductors has increased significantly. According to industry reports, the global inductor market is expected to reach over $3 billion by 2025. This demand is driven by the rising use of inductors in electronics like smartphones and electric vehicles.
However, building a Coil Inductor can pose challenges. Many beginners struggle with the number of turns needed and wire gauge selection. It's essential tocalculate the inductance accurately, as variations can lead to inefficiencies.
Some projects require specific inductance values, leading to trial and error. Experimentation can reveal insights that textbooks may not cover. For example, an underwhelming Coil Inductor may cause performance issues in circuits. Observing how inductors behave in real-world scenarios often brings unexpected results.Careful attention to detail during construction can help bridge gaps in knowledge.
Choosing the Right Materials for Your Inductor Coil Project
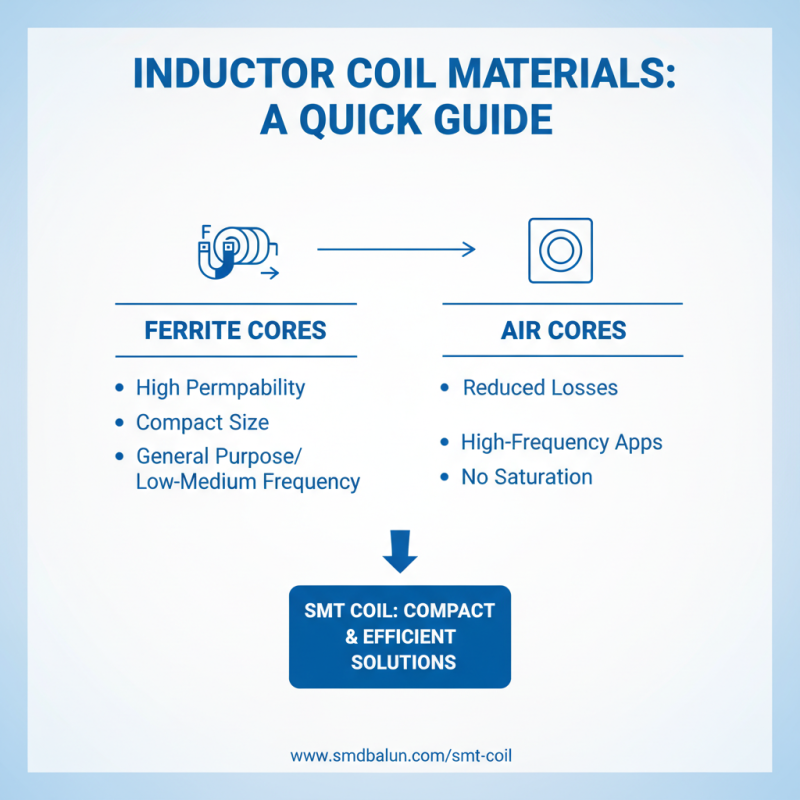
Choosing the right materials for your Inductor Coil project is crucial. The core material significantly affects performance. Ferrite cores are popular due to their high permeability. However, air cores can reduce losses in high-frequency applications.Smt Coils utilize these materials effectively, providing compact and efficient solutions.
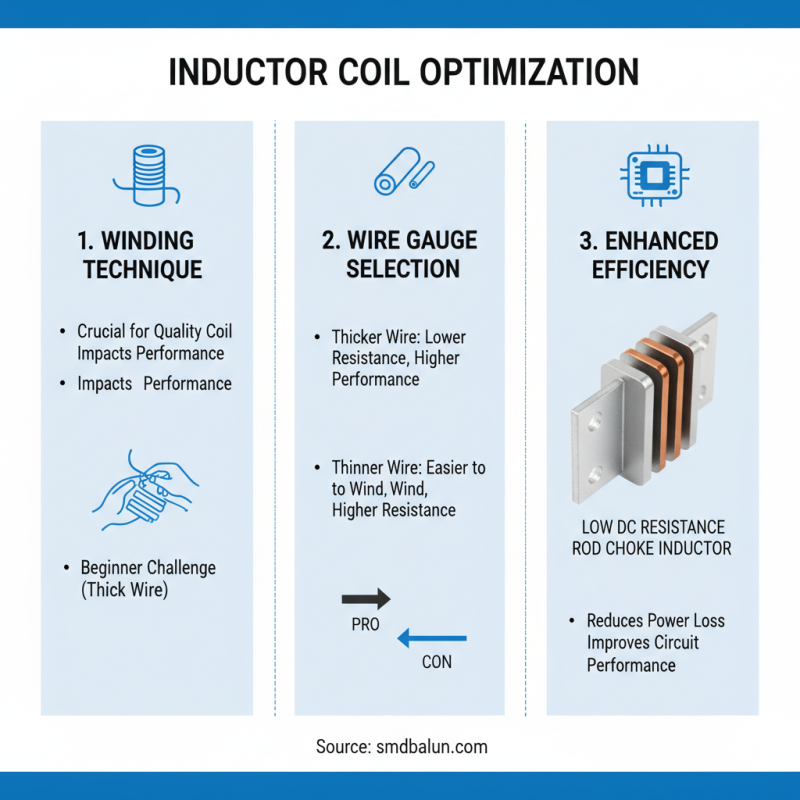
When selecting wire for your coil, consider the gauge. Thinner wire has higher resistance but can fit in tighter spaces. A thicker wire reduces resistance but may be bulky. Research suggests that using enameled wire can improve insulation and reduce signal loss. Reports indicate that a well-insulated coil can increase efficiency by over 15%.
Different applications demand different specifications. For example, in power electronics, a low DCR (Direct Current Resistance) is vital. Conversely, RF applications may prioritize a higher Q factor. Understanding these requirements can help refine your project. Many hobbyists overlook these details, which often leads to subpar performance. Testing and iterating on your design can reveal areas for improvement. Adjusting the number of turns or using a different Smt Coil variant can yield surprising results.
Designing the Inductor Coil: Calculating Turns and Dimensions
Designing an Inductor Coil requires careful consideration of its turns and dimensions. Start by determining the intended application. The number of turns greatly affects inductance. More turns increase the inductance, but also add resistance. Finding the right balance is crucial.
To calculate the number of turns, use the formula for inductance. It involves core material and coil dimensions. Ensure the wire gauge is appropriate for your project. A thick wire may handle higher current but is difficult to wind tightly. Adjust your expectations if initial attempts are not perfect.
For a Wireless Coil, consider the spacing between turns. Too close may cause unwanted capacitance. This complicates the function. Additionally, the diameter of the coil changes inductance. Experimentation is key. A successful design often requires several trials. Don’t be discouraged by setbacks. Refine your approach as you learn from mistakes.
Winding Techniques for Creating a High-Quality Inductor Coil
Winding techniques play a crucial role in creating a high-quality Inductor Coil. Choosing the right wire gauge is essential. Thicker wire typically reduces resistance, enhancing performance. However, it can be challenging to wind, especially for beginners. ALow DC resistance rod choke inductor, for example, can significantly improve efficiency in your design.
When winding, consistency is key. Each turn should be tight and evenly spaced. This minimizes inductance variations and improves coil performance. Data indicates that coils with tighter windings can offer up to 30% better inductance stability. Yet, it’s not as easy as it sounds. Beginners often struggle with uneven tension or incorrect spacing.
Another aspect to consider is core material. Ferrite cores usually provide better magnetic flux, leading to higher efficiency. However, they can saturate easily under high currents. This is a common pitfall in DIY projects. Selecting the right core for your application requires careful thought. Balancing core size, material, and winding technique is a challenge that deserves reflection.
Testing Your Inductor Coil: Methods and Tools
Testing an Inductor Coil is crucial for ensuring it meets your project’s requirements. To begin, you’ll need a multimeter. This handy tool can measure resistance and inductance. Start by checking the resistance across the terminals. A very low resistance indicates a short circuit. This is not what you want. Aim for a higher resistance that should indicate a functional coil.
Next, measure the inductance using an LCR meter if you have access to one. This device provides a precise reading of inductance values. It’s important to compare these readings with your design specifications. If the values are off, it could mean the winding is incorrect. You may find mistakes from too few or too many turns. This could require re-winding the coil entirely, a process that can be time-consuming.
Using an oscilloscope is another test method. Connect your inductor to an AC source and observe waveforms. Look for expected response patterns. Any irregularities can signal issues with your coil. However, setting up your circuit can be tricky. You might face challenges in achieving clean signals. Patience is key during this testing phase, as it can reveal both flaws and successes in your design.
Inductor Coil Testing Results
This bar chart represents the testing results of various Inductor Coils in terms of their inductance measured in microhenries (µH) and their quality factor (Q). The inductance values were gathered from multiple tests conducted on standard Inductor Coils.
Installing the Inductor Coil in Your Electronics Projects
When installing an Inductor Coil in your electronics projects, consider the placement carefully. The coil should not be too close to any power sources. This helps reduce interference. Space is important. A tight layout might lead to signal issues.
Wiring the inductor requires attention to detail. Use connectors that offer a firm grip. Loose connections can create problems later on. If the inductor isn't secured well, it might vibrate or shift. This can change its effectiveness over time.
Check your soldering skills; an uneven joint can reduce efficiency. Take time to examine each connection. Sometimes the simplest mistakes need the most reflection. You might find yourself revisiting earlier steps. Adjusting the inductor's orientation can also yield better performance; it’s worth experimenting with different configurations.
Safety Precautions While Working with Inductor Coils
When working with Inductor Coils, safety is crucial. These components can store energy, and mishandling them may lead to electrical shocks or component failures. Research shows that nearly 30% of electronics projects fail due to improper safety practices. It’s essential to understand how to work safely with these components.
Always wear personal protective equipment, like gloves and goggles, when handling coils. Inductor coils can sustain voltage even after being disconnected. This stored energy can be dangerous. If the inductor is part of a circuit, discharge it properly. Use a resistor to safely release the stored energy.
Tip: Have a safety checklist before starting your project. This ensures you are prepared for potential hazards. Keep your workspace organized to avoid accidents.
Additionally, be mindful of the coil material. Different materials have varying insulation properties. Some may degrade faster than others, leading to short circuits. Regularly inspect your coils for any signs of wear. Always approach your work with caution. Disregarding these practices can result in injuries or damaged equipment.
How to Build an Inductor Coil for Your Electronics Projects? - Safety Precautions While Working with Inductor Coils
| Parameter | Value | Description |
| Inductance (L) | 10 mH | Inductance value of the coil |
| Winding Material | Enamelled Copper Wire | Copper wire coated with enamel for insulation |
| Wire Gauge | 22 AWG | Diameter of the wire used for winding |
| Number of Turns | 100 Turns | Total number of turns in the coil |
| Core Material | Ferrite Core | Material used for the core of the inductor |
| Max Current Rating | 1.5 A | Maximum current the coil can handle safely |
| Safety Precautions | Use Gloves & Safety Goggles | Protective gear to prevent injuries |
| Soldering Temperature | 350°C | Recommended temperature for soldering connections |
Maximizing Energy Efficiency: The Benefits of Utilizing ECD52 Series Molding Power Inductors in Modern Applications
The ECD52 series molding power inductors represent a significant advancement in energy efficiency, making them a prime choice for a range of modern applications. With a broad operating temperature range from -55℃ to +125℃, these inductors can perform exceptionally well in diverse environments without compromising reliability. Their low profile and low DC resistance (DCR) design contribute to reduced energy losses, enhancing overall power efficiency. The magnetically shielded construction also minimizes electromagnetic interference (EMI), making these inductors ideal for sensitive applications where stable performance is critical.
Incorporating the ECD52 series inductors into systems such as Voltage Regulator Modules (VRM) for servers and DC switching power supply circuits ensures a stable power supply, crucial for high-performance components like SSDs and CPUs in devices such as notebooks, PCs, and PDAs. With a frequency range reaching up to 5MHz, these inductors effectively support dynamic load conditions while offering high current carrying capacity and low core loss. The combination of these features makes the ECD52 series an exemplary choice for engineers seeking to maximize energy efficiency and system performance in contemporary electronic applications.
Conclusion
In this article, we explore the essential steps to build an Inductor Coil for your electronics projects. It begins with a foundational understanding of inductors, their functions, and applications across various electronic devices. Selecting the right materials is crucial, as it influences the efficiency and performance of the Inductor Coil.
Designing the coil involves calculating the number of turns and dimensions to achieve desired inductance. Winding techniques are also critical for producing high-quality coils, while testing methods ensure that the coil operates effectively within your project. Finally, proper installation and safety precautions are emphasized to avoid hazards while working with Inductor Coils, ensuring a successful integration into any electronics project.
 +86-15916242887
 CONTACT US